Have you seen the new Star Wars movie, Episode VII The Force Awakens?
You probably did, and so did I.
The husband and I are both big Star Wars fans, so of course we saw the movie, but please do not stop reading here even if you don’t care about Star Wars.
Don’t worry, this is not going to be another movie review post.
Instead, this is a post about some new Star Wars sewing projects I have completed recently.
 With the Force flowing through the sewing room, it was only natural for some creative Star Wars projects to emerge.
With the Force guiding my creativity, my first thoughts were of my Star Wars embroidery designs. Especially the fun kids packs. As I thought about these embroidery designs, the idea for my next sewing project was outlined, a kid’s raglan sleeve sweatshirt with piping and embroidered Star Wars designs on it. I had several designs in mind, but the Darth Vader design would be the first embroidery design to be stitched out.
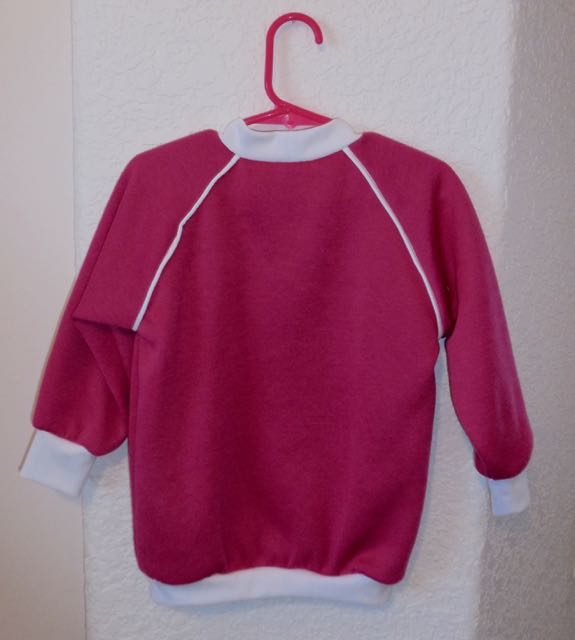
 I started by pulling white sweatshirt fleece, black ribbing and black denim scraps from the stash. Next I pulled out my size 2 children’s basic raglan sleeve sweatshirt sloper pattern from the pattern stash. After clearing off the cutting table, I got started with the cutting process. Since the cutting table was now clear and the fabric was already out, I decided to cut out a second sweatshirt from the same fabric and pattern at the same time. It was not long before everything was cut out and it was time to start sewing.
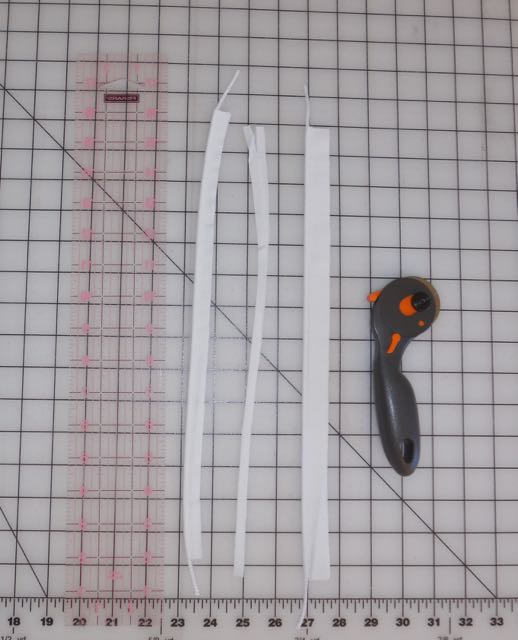
 The sewing process started out with making the piping. Using the zipper foot on my sewing machine, I made 8 strips of piping for the 4 sleeves. Because I had used black denim for the piping, I noticed as I sewed the piping to the fleece that it was heavy and bulky, especially where the piping joined at the collar and the armscye. I made a mental note that even though the denim was looking good, that the next time I made piping, I should use a lighter weight fabric for the piping. With the piping finally applied, it was time to embroider the Star Wars designs.
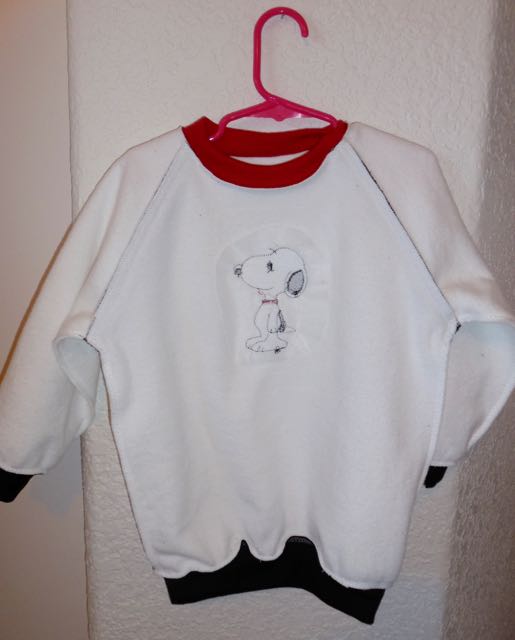
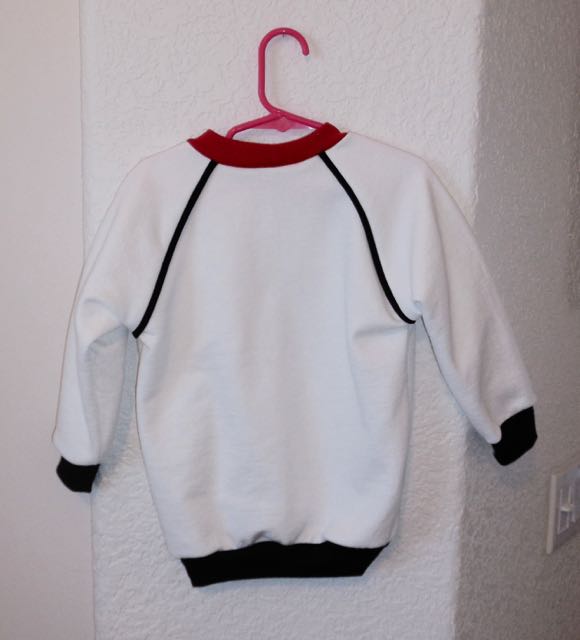
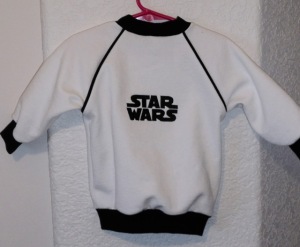
 The big head little body Darth Vader design stitched beautifully on the white fleece. Next, I was going to embroider the Death Star or an AT-AT Walker on the sleeve but after measuring for the design, I noticed this was going to look crowded. Because of that I decided not to embroider anything on the sleeves. Since I still had the back of the shirt to work with though, I decided to embroider the Star Wars logo on the back of the shirt rather than embroider on the sleeves.
 Looking at the second white sweatshirt, I picked the big head little body Stormtrooper design and start embroidering. As the design stitched, I noticed that this design did not have a black outline around it. I started to worry as it stitched that you would not be able to see the white Stormtrooper on the white fleece, but in the end the white Stormtrooper looks great on the white fleece. Once again, I sewed the Star Wars logo to the back of the shirt. With the designs embroidered, I returned to the sewing process, and soon the sweatshirts were finished.
 As long as all the embroidery thread and equipment were all out, I figured I should go ahead and make a couple of baby bibs. I had been wanting to sew the Luke Mousewalker (Mouse Luke Skywalker) design since the first time I saw it. So I sewed this design on a blue towel and then sewed on a tan ribbing collar. Then I stitched another design that I have been wanting to do for awhile, Hopiana Jones (Bunny Rabbit Indiana Jones). Now, I know this is a post about Star Wars sewing but I figured Harrison Ford=Han Solo=Indiana Jones right? I sewed this next design on a tan towel and finished it off with a dark brown ribbing collar.
 This completed my Star Wars junior sewing for now.
These pieces were lot fun to create and sew, and I love the end results.
 The Darth Vader and Stormtrooper sweatshirts are just adorable and the bibs are too cute as well. I had plans to make more kid’s Star War items but, I had a big kid i.e. the husband, standing over my shoulder, green with envy. So, stay tuned for the next post and more Star Wars projects for BIGger Kids.
Until then, sew forth and May The Force Be With You!